 instagram
  facebook
  linkedin
  whatsapp
Designing decals for commercial vehicles is more than just slapping a logo and phone number onto a vehicle’s body. An effective decal must convey the business name, service type, and contact method within seconds to an audience that is likely on the move. Simultaneously, the layout must harmonize with the vehicle’s body shape, remain legible from an appropriate distance, resist color shifts during printing, and avoid distortion or splitting when installed over door handles, seams, windows, and body curves.
In short, the best approach is: first, define your advertising goal and target audience; second, take precise measurements of the vehicle body; third, distill your message down to three core components—”Brand, Service, and Contact”; fourth, apply the design onto an accurate vehicle template; and finally, verify legibility, colors, file quality, and cut-line placements prior to printing. This comprehensive design guide for commercial vehicles, utes, and vans covers every step from initial concept to printing, installation, and long-term maintenance.
Why Does Commercial Vehicle Decal Design Matter?
A commercial vehicle is seen daily on city streets, in parking lots, at job sites, and along delivery routes. Consequently, its bodywork can be transformed into a mobile advertising medium—one that continuously generates brand exposure throughout the vehicle’s operational lifecycle, unlike many short-term advertising channels. However, high visibility is only valuable if the message is communicated quickly and accurately.
In poor designs, tiny lettering, cluttered phone numbers, busy graphics, and insufficient contrast prevent the audience from remembering even the brand name. In contrast, principled design establishes a balance between aesthetics, legibility, and visual identity. The result is a vehicle that not only projects a more professional appearance but also promotes services, enhances brand awareness, and drives more incoming inquiries and walk-ins. For comprehensive signage solutions and commercial vehicle branding, explore Spectrum Signs.
How Does a Vehicle Decal Differ from a Full Wrap?
A vehicle decal typically covers specific sections of the bodywork and is used to display logos, contact information, slogans, or discrete graphic elements. In contrast, a full wrap covers virtually the entire painted surface, allowing for a complete transformation of the vehicle’s exterior. Positioned between these two options is the partial wrap, which covers a designated portion of the vehicle with large-scale graphics.
The choice between these methods depends on budget, the surface area required for the message, the condition of the paintwork, and campaign duration. For many utes and service vehicles, a combination of a clear logo, a graphic stripe, and contact details is sufficient. However, for large vans or brands requiring a powerful visual presence, a partial or full wrap creates a much greater impact.
Define Your Advertising Goal Before Designing
The primary question should not be “Which colors do we pick?”, but rather what the audience should understand and what action they should take after seeing the vehicle. A service provider might prioritize phone calls, an online store might want website visits, and a freight fleet might focus on brand recognition.
Common goals for commercial vehicle decal design include:
- Rapidly introducing the brand name and line of business.
- Increasing phone calls, messages, or website visits.
- Establishing a cohesive, professional appearance for a fleet.
- Highlighting a specific service or product.
- Displaying the geographic service area.
- Building trust when staff arrive on-site at a customer’s location.
If multiple goals exist, one must be designated as the primary focus. Attempting to display all services, social channels, multiple phone numbers, full physical addresses, and lengthy slogans simultaneously will inevitably dilute the core message.
Who Is the Target Audience for Vehicle Decals?
The nature of the target audience directly influences message selection and design style. For residential services, the service description and phone number must be exceptionally clear. For B2B companies, brand authority, website domain, and industry specialization carry greater weight. For delivery vehicles, the logo and corporate color palette take center stage.
Viewing conditions must also be taken into account. Is the vehicle primarily seen in city traffic, parked at job sites for extended periods, or driving along high-speed highways? The faster the passing speed, the shorter, bolder, and simpler the design must be.
Essential Information in Commercial Vehicle Decal Design
An effective design requires limited but highly focused information. Within a few seconds, the viewer should be able to answer three basic questions: Who is this brand? What do they do? How can I reach them?
1. Brand Name and Logo
The logo should be placed on a relatively flat surface, away from door seams, handles, or pronounced body curves. Vector assets must be used so that quality is preserved at large scales. Altering logo proportions, adding unnecessary effects, or placing the logo over a low-contrast background will compromise brand identity.
2. Concise Service Description
Viewers should not have to guess what the business does. A concise phrase such as “Plumbing & Repairs,” “Freight & Delivery,” or “HVAC Installation & Service” is far more effective than an exhaustive list of services. Secondary services can be placed on the rear of the vehicle or given lower visual priority.
3. One Primary Contact Channel
A phone number, website URL, or primary social media handle should be prominently featured. It is best to choose only one or two primary communication channels. Phone numbers should be formatted with clear spacing, and website domains should be kept as short and simple as possible.
4. Call to Action (CTA)
A Call to Action (CTA) should align directly with the selected contact channel—for example, “Call for a Quote,” “Visit Our Site,” or “Scan to Book.” A concise CTA informs the viewer of the next step without competing visually with the main headline.
Is Using a QR Code on a Vehicle Appropriate?
Yes, but only under specific circumstances. QR codes work well on parked vehicles or on the rear panels of vans visible in traffic, but they should never serve as the sole method of contact. The code must be sufficiently large, surrounded by adequate white space, feature high contrast, and be tested at full scale prior to printing. Small QR codes placed on the sides of vehicles moving at speed are ineffective and can lead to dangerous driving behavior.
Visual Design Principles for Ute and Van Decals
Maintain Visual Hierarchy
Information must be structured in order of importance. In most designs, the recommended hierarchy is:
- Logo or Brand Name
- Service Type or Key Value Proposition
- Phone Number or Website URL
- Supplementary Information and CTA
Varying font size, weight, color, and negative space helps establish this sequence. If every element is given equal size and weight, none will stand out at first glance.
Prioritize Legibility Over Decoration
Clean fonts with medium-to-bold weights perform best in outdoor environments. Ultra-thin, condensed, or overly decorative typefaces may look attractive on a screen, but they become unreadable on a vehicle from a distance. Letter spacing and line height should also be adjusted appropriately for large-format outputs.
To evaluate legibility early on, scale down the design or view the mockup from several meters away. If the brand name, service, and contact details are not distinguishable within seconds, the layout needs simplification.
Create Strong Color Contrast
There must be a clear difference in brightness between the lettering and the background. White text on a light surface or black text on a dark body panel will lack required legibility, even if mathematically compliant with brand guidelines. Solid color blocks, subtle outlines, or negative space can be used to isolate text from the vehicle’s paint color.
Printed colors will not match monitor displays perfectly, as screens operate in RGB while print processes utilize CMYK. For brand-critical corporate colors, requesting a physical print proof before full production reduces the risk of color discrepancies.
Embrace Negative Space
The entire vehicle surface does not need to be filled with text or graphics. Uncluttered negative space allows the logo and primary message to stand out clearly. A clean layout appears more professional, is comprehended faster, and adapts better across various vehicle sizes within a fleet.
Photos vs. Simple Vector Graphics?
Photos are beneficial when showing a product or final result communicates faster than text alone—such as imagery of prepared food, renovated interiors, or flagship merchandise. However, photos must feature high resolution, proper lighting, and a clear focal point. Cluttered imagery or photos split awkwardly across body seams reduce design impact.
For many service-based businesses, a combination of corporate colors, a logo, clean typography, and a simple vector graphic yields better results than multiple small photos.
Designing for Specific Vehicle Types
Decal Design for Utes
Utes generally feature less continuous flat surface area than vans. On models equipped with service bodies or utility tubs, seams, wheel arches, and varying rear heights must be accounted for. Door panels are ideal for the primary logo and service description, while the tailgate or rear section can display phone numbers and website details.
If the ute features a canopy or cargo box, this area offers valuable real estate for larger messaging. However, the graphics must remain logical and legible even when doors or tailgates are opened or lowered.
Decal Design for Vans
Vans provide vast, flat panel areas, but this advantage should not lead to layout clutter. Large side panels are ideal for the brand name, main visual feature, and primary service line. Sliding doors, tracks, windows, and handles must be mapped onto the template from the start to prevent text from being obscured.
The rear section of a van is particularly valuable, as it offers the longest exposure times in traffic. Phone numbers, website domains, and CTAs should be located here, provided license plates, lights, cameras, handles, and regulatory requirements are not compromised.
Designing for Multi-Vehicle Fleets
When a business operates multiple vehicle models, a flexible design system should be established rather than applying an unadjusted file across all chassis types. The logo, color palette, typography, and messaging structure remain constant, but the scale and positioning are tailored to each vehicle shape. This maintains brand consistency while preventing awkward stretching or trimming.
Vehicle Measurements and Accurate Template Creation
One of the most critical phases in commercial vehicle decal design is accurate physical measurement. Relying solely on internet photos or manufacturer specifications is insufficient, as trim levels, production years, door configurations, glass panels, and aftermarket accessories often vary.
Technical site surveys must record panel lengths and heights, distances to door handles, seam positions, body contours, window placements, sliding door tracks, lights, license plates, and wheel arch curvatures. Straight-on photos of every side of the vehicle assist in template verification. Using a verified vector vehicle template is a great starting point, but physical measurements must validate it.
Understanding Safe Areas, Bleed, and Cut Lines
The Safe Area is the inner zone where text, logos, and crucial elements must sit to avoid damage during installation or trimming. Bleed is the extra printed graphic that extends past the final cut line, ensuring no white unprinted edges appear after cutting or minor shifting during application. Exact bleed allowances depend on the vehicle profile, installation technique, and print provider guidelines.
Important text should never lie directly over door seams, panel edges, handles, or severe body contours. Furthermore, words or phone numbers should not be split incoherently when doors are opened.
Technical Print File Specifications
Print files must be prepared according to final dimensions and print shop standards. Logos, icons, and text should remain in vector format. Raster images must maintain sufficient resolution at full scale; simply increasing the DPI setting in software will not improve a low-quality source image.
Key file preparation checklist items include:
- Explicitly specifying file scale.
- Using the print provider’s approved CMYK color profile.
- Converting fonts to outlines or embedding them.
- Embedding all linked images or packaging the file completely.
- Including required bleed margins.
- Placing cut lines on a separate layer from print graphics.
- Clearly labeling each vehicle side (Driver Side, Passenger Side, Rear, Front).
- Supplying a visual reference mockup alongside production files.
- Proofreading brand names, website URLs, and phone numbers.
What Is the Ideal Print Resolution?
There is no single fixed number for every project, as output size and viewing distance determine requirements. Typically, large-format vehicle graphics files are prepared at full scale with resolutions recommended by the print facility. The key principle is to evaluate image clarity at full printed scale rather than strictly relying on monitor previewing.
Selecting the Right Decal Materials
A well-crafted design will not last without proper material selection. Automotive-grade vineries differ significantly from standard stickers in terms of adhesive formulation, conformability, air-release channels, durability, and clean removability. Material choice must align with surface coverage, body contours, planned service life, and environmental exposure.
| Execution Method | Ideal Application | Key Advantage | Important Considerations |
|---|---|---|---|
| Cut Vinyl Lettering & Logos | Minimalist designs and basic contact info | Clean appearance & cost-controlled | Not suitable for complex gradients or photos |
| Spot Printed Decals | Logos, images, and details on isolated sections | Excellent design flexibility | Requires appropriate outdoor lamination |
| Partial Wrap | Graphic coverage over specified body panels | Balance between visual impact and cost | Design edges must be planned intentionally |
| Full Wrap | Comprehensive restyling and strong branding | Maximum visual exposure | Requires thorough surface prep & pro installation |
| Temporary/Magnetic Decals | Short campaigns or multi-purpose vehicles | Easy removal & reapplication | Not suitable for all panels or highway speeds |
Why Is Lamination Essential?
Lamination shields the printed surface against UV rays, abrasion, moisture, and cleaning chemicals. The laminate film must be fully compatible with the underlying vinyl type. Gloss finishes enhance color vibrancy, while matte finishes reduce glare; selecting between them depends on brand aesthetics, vehicle color, and viewing conditions.
The Risks of Cheap Decals
Inferior materials fade prematurely, lift along edges, shrink around body curves, or leave stubborn adhesive residue upon removal. Re-printing and re-installing prematurely easily outweighs any initial savings. For vehicles exposed to the elements daily, material longevity and application quality directly reflect brand credibility.
Vehicle Decal Installation Tips
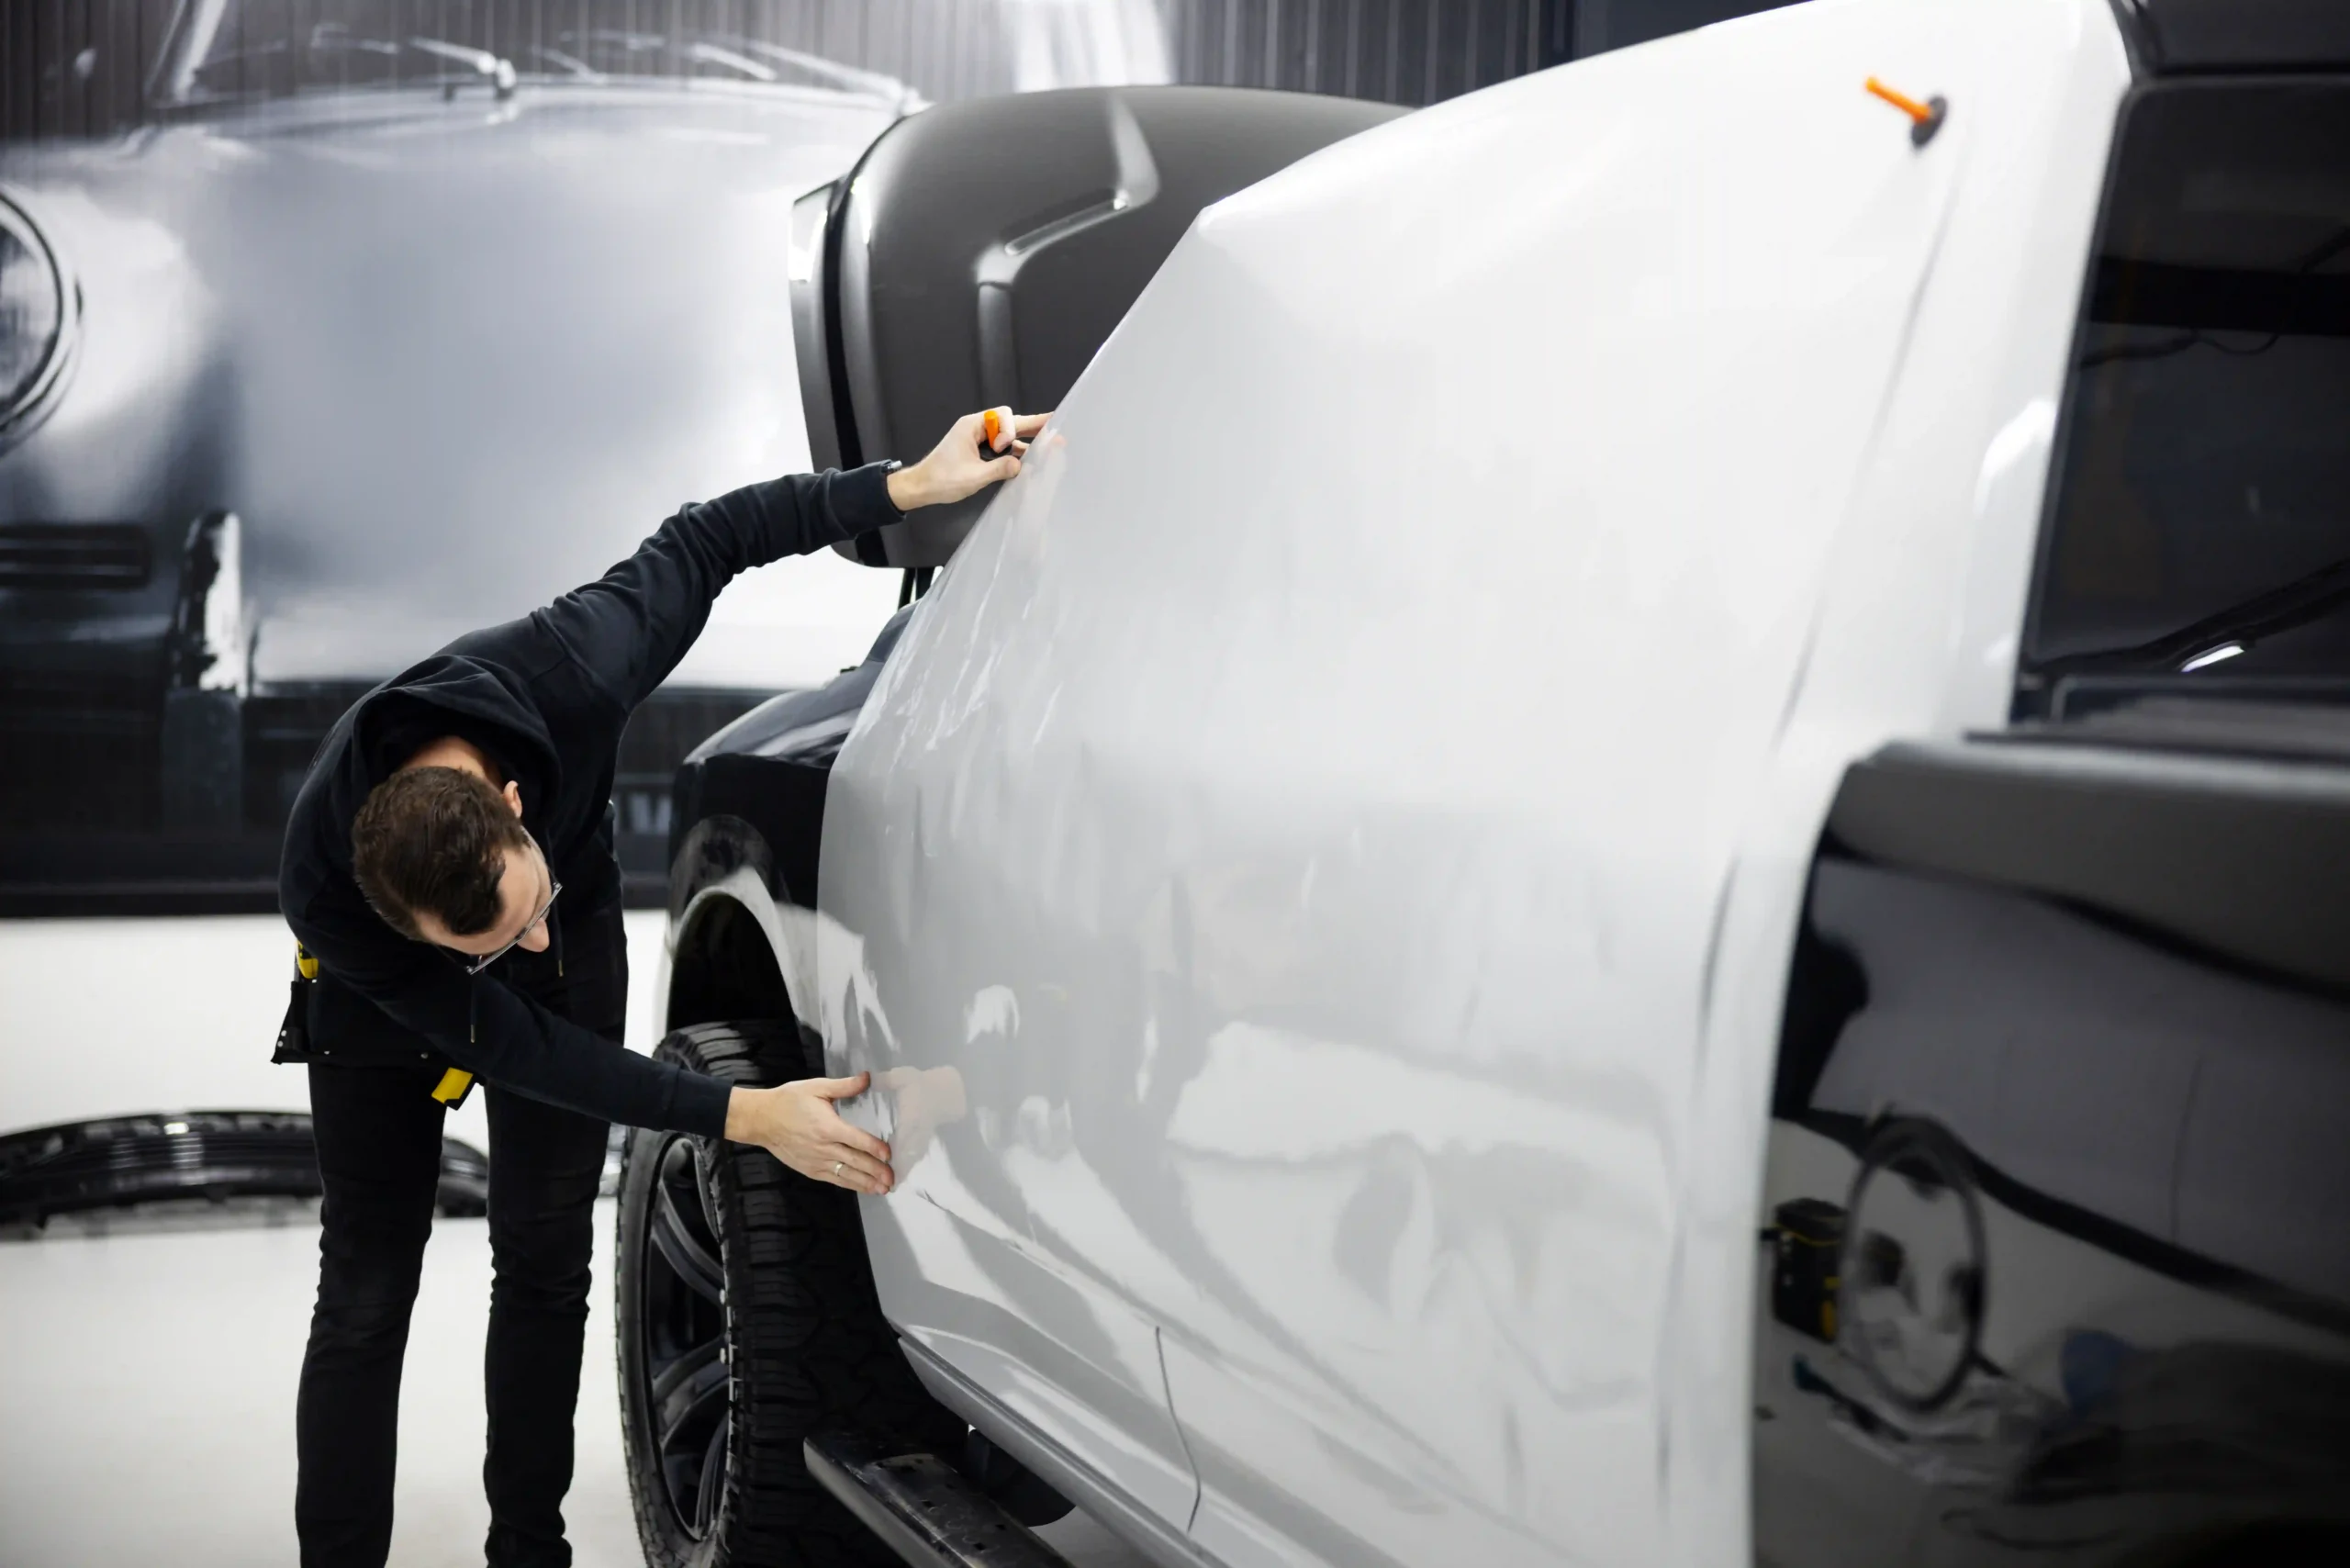
Professional installation is just as critical to the final outcome as the design itself. The vehicle body must be clean, dry, and thoroughly free of wax, grease, dust, and road grime. Rust, flaking paint, dents, or fresh paintwork compromise adhesion and final finish quality. Paint integrity and prior body repairs must be inspected before application.
Ambient temperature, specialized tools, vinyl stretch control, and proper handling of body contours are all vital factors. Over-stretching vinyl can discolor printed graphics or cause edge lifting over time. Trimming directly on vehicle paint must be performed using safe techniques and specialized tools to prevent surface damage.
Which Areas Should Not Be Covered?
Headlights, taillights, license plates, parking sensors, cameras, safety markings, and any region required by local transportation laws must remain unobstructed. Glass application must comply with local regulations and preserve clear driver visibility. Where glass coverage is permitted, specialized perforated window vinyl (One-Way Vision) should be used, with light transmission levels, legal compliance, and lamination methods verified beforehand.
Common Mistakes in Commercial Vehicle Decal Design
Clattering the Design with Excessive Information
Listing every service offered ensures that no single primary message stands out. It is far better to display core services and direct viewers to a website for full details.
Using Small Lettering
Layouts viewed up close on a computer screen appear very different when scaled onto a vehicle viewed from several meters away while in motion. Text sizing must always be judged against realistic viewing distances.
Placing Information Over Body Lines
Door seams, handles, tracks, panel overlaps, and sharp curves can break up critical words or phone numbers. Utilizing precise templates and checking layouts in both open and closed door states mitigates this issue.
Ignoring the Base Vehicle Color
Vehicle paint forms an integral part of the final visual composition. A design that is readable on a white vehicle may completely lose contrast on black or silver paintwork. The design must be tailored to the specific vehicle color.
Copying One Layout Across Different Vehicle Models
Variations in panel proportions and door placements mean that copying files directly across different vehicle models yields poor results. Maintain brand identity elements, but adapt the layout specifically for each model.
Neglecting the Rear View
In traffic, the rear of a vehicle often receives the longest exposure time from surrounding drivers. Omitting contact info or using tiny fonts on the rear panel wastes a primary marketing opportunity.
Standard Workflow: From Design to Installation
A professional vehicle graphic project is best managed across eight structured stages:
- Design Brief: Define the brand, audience, core message, goals, and budget.
- Vehicle Inspection & Measurement: Record exact model specifications, paint color, surface condition, and aftermarket fitments.
- Coverage Strategy: Determine whether cut vinyl, spot decals, a partial wrap, or a full wrap is required.
- Concept Design: Develop layout messaging, color palette, typography, and visual hierarchy.
- Template Adaptation: Fit artwork precisely to vehicle panels, door seams, and side/rear profiles.
- Review & Approval: Verify legibility, text accuracy, contact details, and visual mockups.
- Print Production Prep: Set color management, bleed allowances, cut paths, and material selection.
- Installation & Quality Control: Apply graphics, inspect edge seals, verify panel alignments, and perform final checks.
Obtaining written sign-off on text, phone numbers, colors, and final mockups prevents costly production errors. For large fleets, executing a single prototype vehicle first allows for full evaluation before proceeding with mass production.
Measuring Vehicle Advertising Effectiveness
Vehicle advertising is not merely an aesthetic choice; its return on investment can be actively tracked. Implement measurable contact channels, such as dedicated phone numbers, custom landing pages, UTM-tracked QR codes, or vehicle-specific promo codes.
Key metrics to evaluate include call volume, QR scans, direct landing page traffic, quote requests, and conversion rates. Additionally, asking new leads how they discovered your business provides valuable qualitative data. For fleets operating across multiple territories, route data and dwell times help pinpoint high-visibility regions.
Using Local GEO Strategy in Decal Design and Content
Local geographic orientation (GEO) plays a dual role:
- Local Marketing: Displaying city or regional service areas reassures potential clients that you operate in their neighborhood (e.g., “Serving Perth & Surrounding Areas”).
- Search & Generative AI Optimization: On your digital channels, website copy should feature clear structures, localized service terms, and defined geographic coverage so that AI search engines can easily index your service capabilities.
Avoid cluttering vehicle graphics with exhaustive lists of sub-suburbs without purpose. Local details should remain authentic, helpful, and aligned with actual operational boundaries. Full physical addresses should only be placed on the vehicle if the location serves as a primary walk-in destination for customers.
Decal Maintenance and Extending Service Life
Following installation, avoid washing the vehicle for the installer’s recommended curing period to allow the adhesive to fully bond. Hand washing with mild detergents is the safest cleaning method. Direct high-pressure washing close to vinyl edges, abrasive brushes, harsh chemical solvents, and non-suitable waxes will degrade vinyl longevity.
Edges and corners should be inspected periodically. If a section begins to lift, having it trimmed or repaired promptly prevents moisture and dirt ingress. Prolonged parking under intense direct sunlight or extreme weather accelerates wear. Replacement timelines depend on material grade, application quality, environmental conditions, and maintenance care.
What is the most important information to put on a vehicle decal?
The brand name or logo, a brief service description, and one primary contact method are essential. If space and viewing conditions permit, a concise CTA, website domain, or QR code can be added. Secondary details that cannot be read in a few seconds are best left to your website.
Are spot decals or a full wrap better for commercial vehicles?
If you have a limited budget, a short message, and a base vehicle color that matches your brand, spot decals are often sufficient. If you require a complete visual transformation, high visual impact, or total fleet uniformity, a partial or full wrap is the superior choice. Base paint condition and intended usage duration should also be evaluated.
How simple should a vehicle decal design be?
Simple enough that the brand name, service offering, and contact method are fully understood in a brief glance. Simplicity does not mean a lack of identity; using corporate colors, distinct graphics, and strong typography creates a memorable yet uncluttered layout.
Can decals be installed over damaged paintwork?
Installing graphics over peeling paint, rust, or poor bodywork repairs is not recommended. Adhesive performance will be compromised, and underlying paint may lift during application or future removal. Surface condition must be evaluated by a professional prior to final design and installation.
Do vehicle decals damage the original factory paint?
High-quality automotive vinyl installed professionally over healthy factory paint—and removed correctly within its recommended lifespan—is specifically designed to protect paintwork. However, aged paint, sub-standard body repairs, leaving vinyl on beyond its rating, or improper removal techniques can increase the risk of paint damage.
How are vehicle decal design and installation prices determined?
Pricing depends on vehicle size, total coverage area, design complexity, vinyl and laminate selection, print volume, surface condition, installation difficulty, and total fleet count. Providing vehicle details, photos, dimensions, project goals, and coverage preferences allows for an accurate estimate.
How often should vehicle decals be replaced?
There is no single timeline for every project. Vinyl and laminate quality, UV exposure, climate, washing frequency, parking conditions, and body contours all impact durability. The technical specifications and manufacturer warranty of the selected material should guide your replacement schedule.
Can one unified design be used across multiple vehicle types?
A unified visual brand system should be used, but artwork files must be adjusted individually to fit the specific template and dimensions of each vehicle model. This preserves brand consistency while preventing awkward placement of text and logos across different body shapes.
Conclusion: A Great Decal Must Be Understood in Seconds
Successful decal design for utes, vans, and commercial vehicles starts with a clear, focused message and is brought to life through precise measurements, body-conforming layouts, premium materials, and expert installation. A large logo alone is not enough; viewers must instantly grasp what your business offers and how to get in touch.
If you want to turn your commercial vehicles into a cohesive, professional mobile marketing asset, the team at Spectrum Signs can guide you through every step—from selecting coverage types and custom design to printing and professional installation tailored to your vehicle model. To receive a tailored proposal for your ute, van, or commercial fleet, send your vehicle photos, model details, body color, and advertising goals to Spectrum Signs to kickstart your design and installation estimate.